How to Virtually Stage a Room: Step-by-Step (DIY vs. AI)
Updated September 27, 2026 · 5 min read
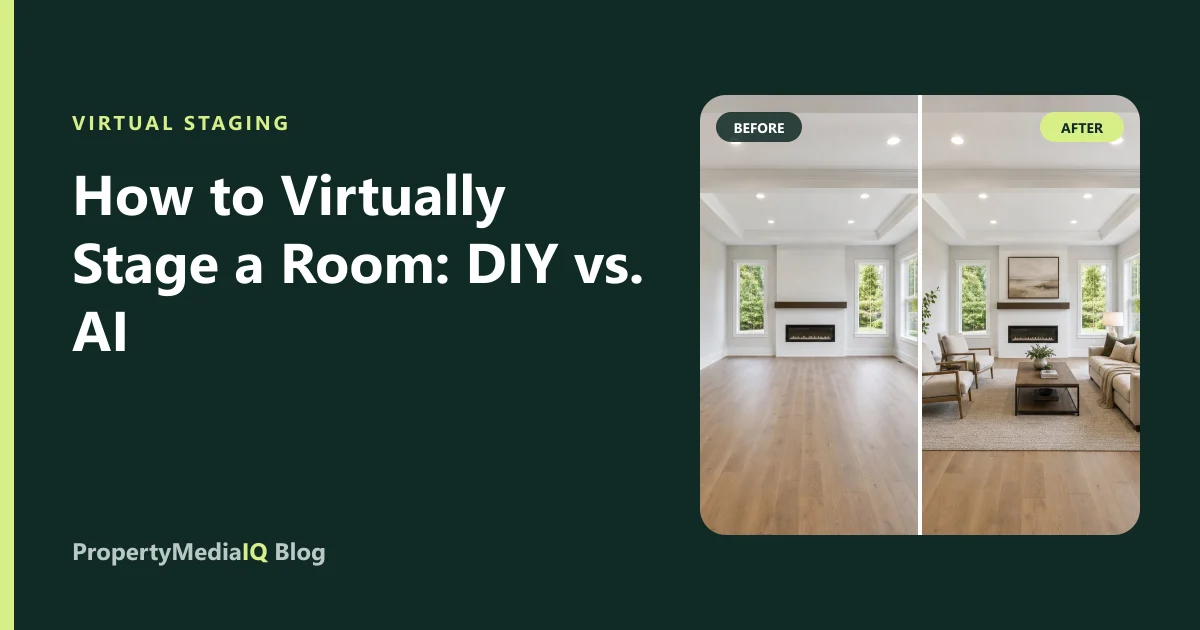
Virtually staging a room means adding furniture and decor to a photo of an empty or under-furnished space so buyers can picture living there. You can do it by hand in photo or 3D software, or let an AI tool do it in minutes. This guide walks through the whole process — from taking the right photo to publishing a disclosed, MLS-ready image — and compares the DIY and AI routes honestly.
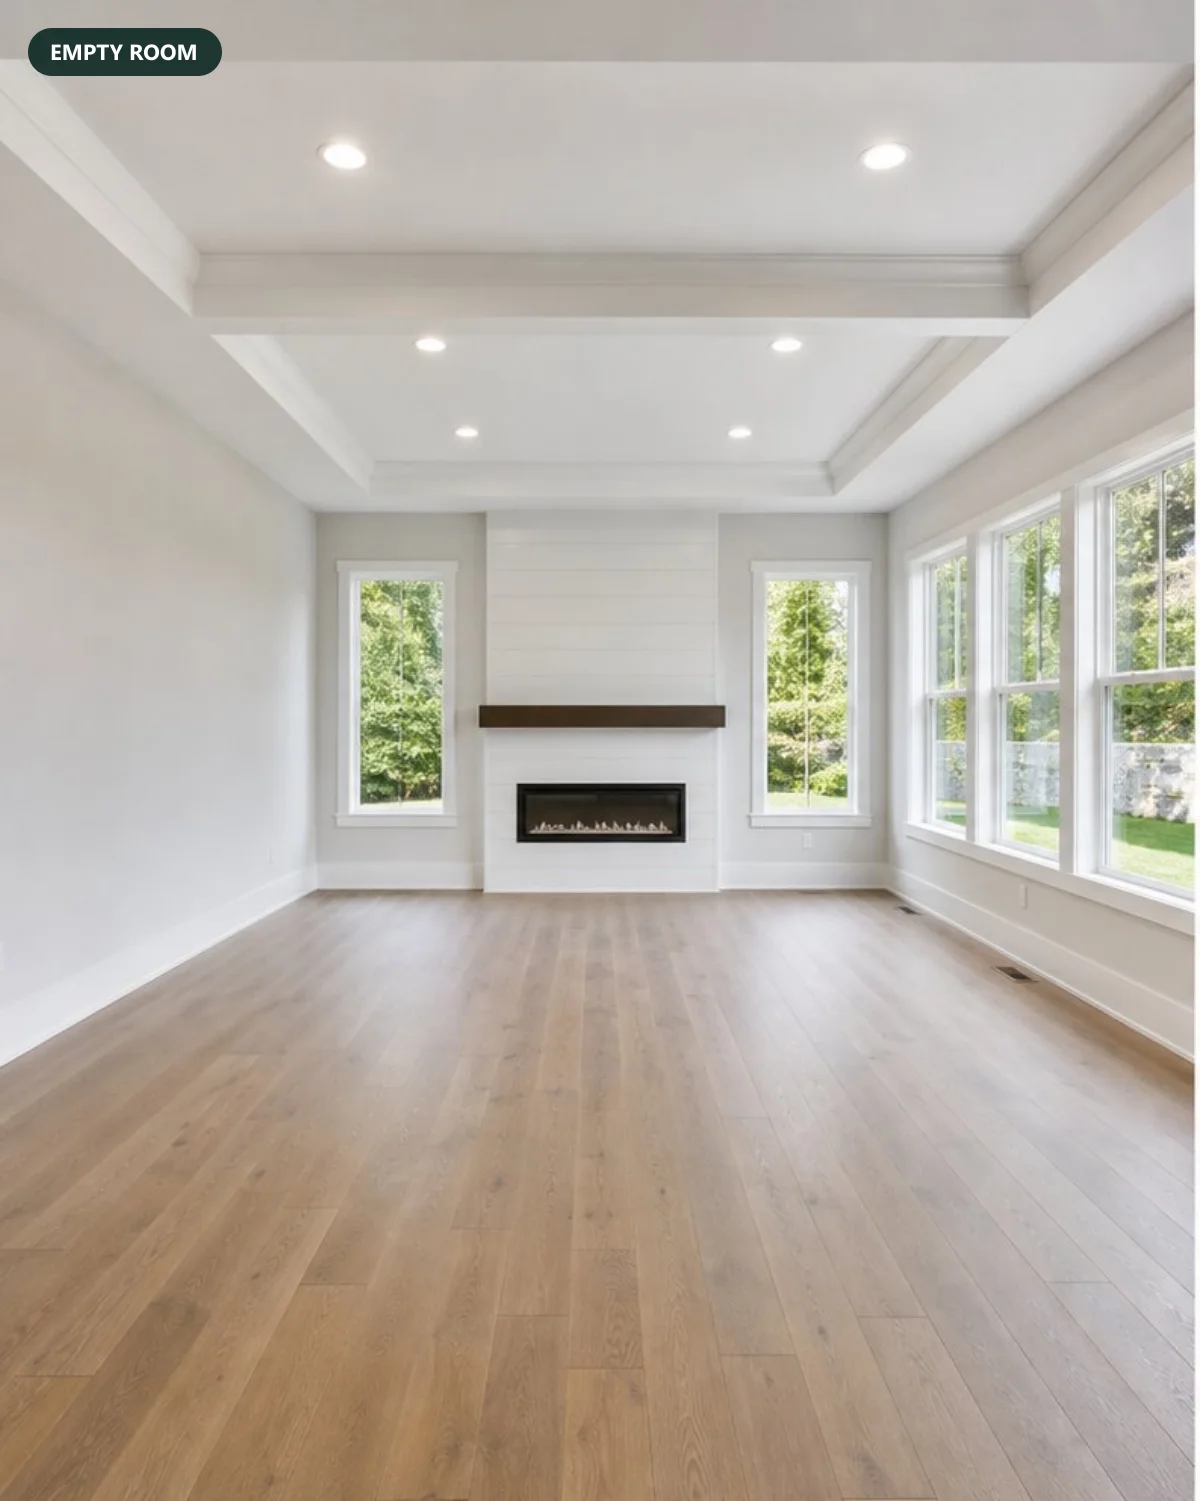
Step 1: Take a photo that can be staged
The staging can only be as good as the photo. Aim for:
- Wide angle, from a corner or doorway, showing floor, two walls and the main window.
- Level camera at about chest height — tilted verticals make furniture look wrong.
- Even, bright light — shoot with all lights on and windows not blown out; bracket exposures if you can.
- An empty, clean room — remove small items, cords and clutter.
- Enough floor visible for furniture to sit on.
If the photo is dark or the color is off, fix it first with image enhancement. If the room is occupied, remove the existing furniture before staging — here's why.
Step 2: Choose a style that matches the buyer
Style is a marketing decision, not a personal one. Match the likely buyer and price point:
| Home | Style that usually fits |
|---|---|
| City condo, young professionals | Modern or Scandinavian |
| Suburban family home | Traditional or Modern |
| Beach or lake property | Coastal |
| Loft or converted building | Industrial |
| High-end home | Luxury — restrained, not flashy |
Over-styling a modest home with luxury furniture sets expectations the showing can't meet. See virtual staging mistakes to avoid.
Step 3A: Stage with AI (minutes)
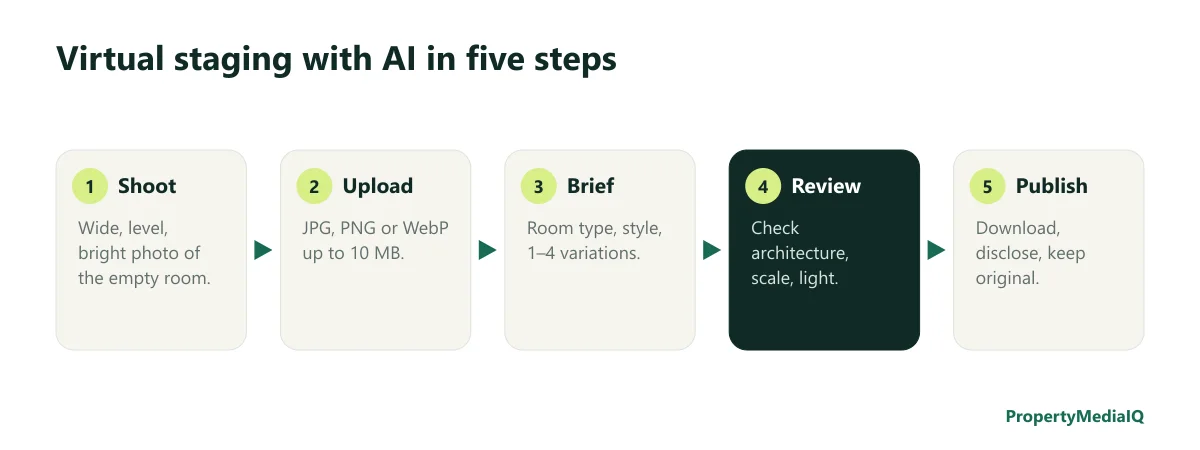
- Upload the photo (JPG, PNG or WebP).
- Set the brief: room type (living room, bedroom, dining…), style, and one to four variations.
- Add specific instructions if needed: "sectional facing the fireplace", "home office desk under the window".
- Generate and compare variations.
- Select the final, request a revision if something's off, and download.
With PropertyMediaIQ this costs $5 per photo, takes about two minutes, and every generation is instructed to preserve walls, windows, doors, floors and fixtures.
Step 3B: Stage by hand (hours)
If you prefer full control:
- Open the photo in a photo editor or a dedicated drag-and-drop staging app.
- Find the perspective: draw guide lines along the floor and ceiling edges to find vanishing points.
- Place furniture — 3D models (best) or cut-out photos — matching the vanishing lines.
- Scale carefully: a standard sofa is roughly 84 inches wide and 30–36 inches tall; use doors (about 80 inches tall) as a reference.
- Add shadows on the side away from the main light source, with soft contact shadows under every leg.
- Match color and light so furniture sits in the same color temperature as the room.
- Add rugs, art and plants to make the room feel lived-in.
- Export at full resolution.
Expect anything from one to several hours per room depending on your skills and tools.
DIY vs. AI: the honest comparison
| DIY | AI | |
|---|---|---|
| Time per room | 1–4+ hours | ~2 minutes |
| Cost | Software + your time | ~$5 per photo |
| Control | Complete | Brief + instructions + variations |
| Realism | Depends on skill | Consistently good on well-shot photos |
| Consistency across a listing | Hard | Easy |
| Best for | Designers, special cases | Almost every listing |
Step 4: Review before you publish
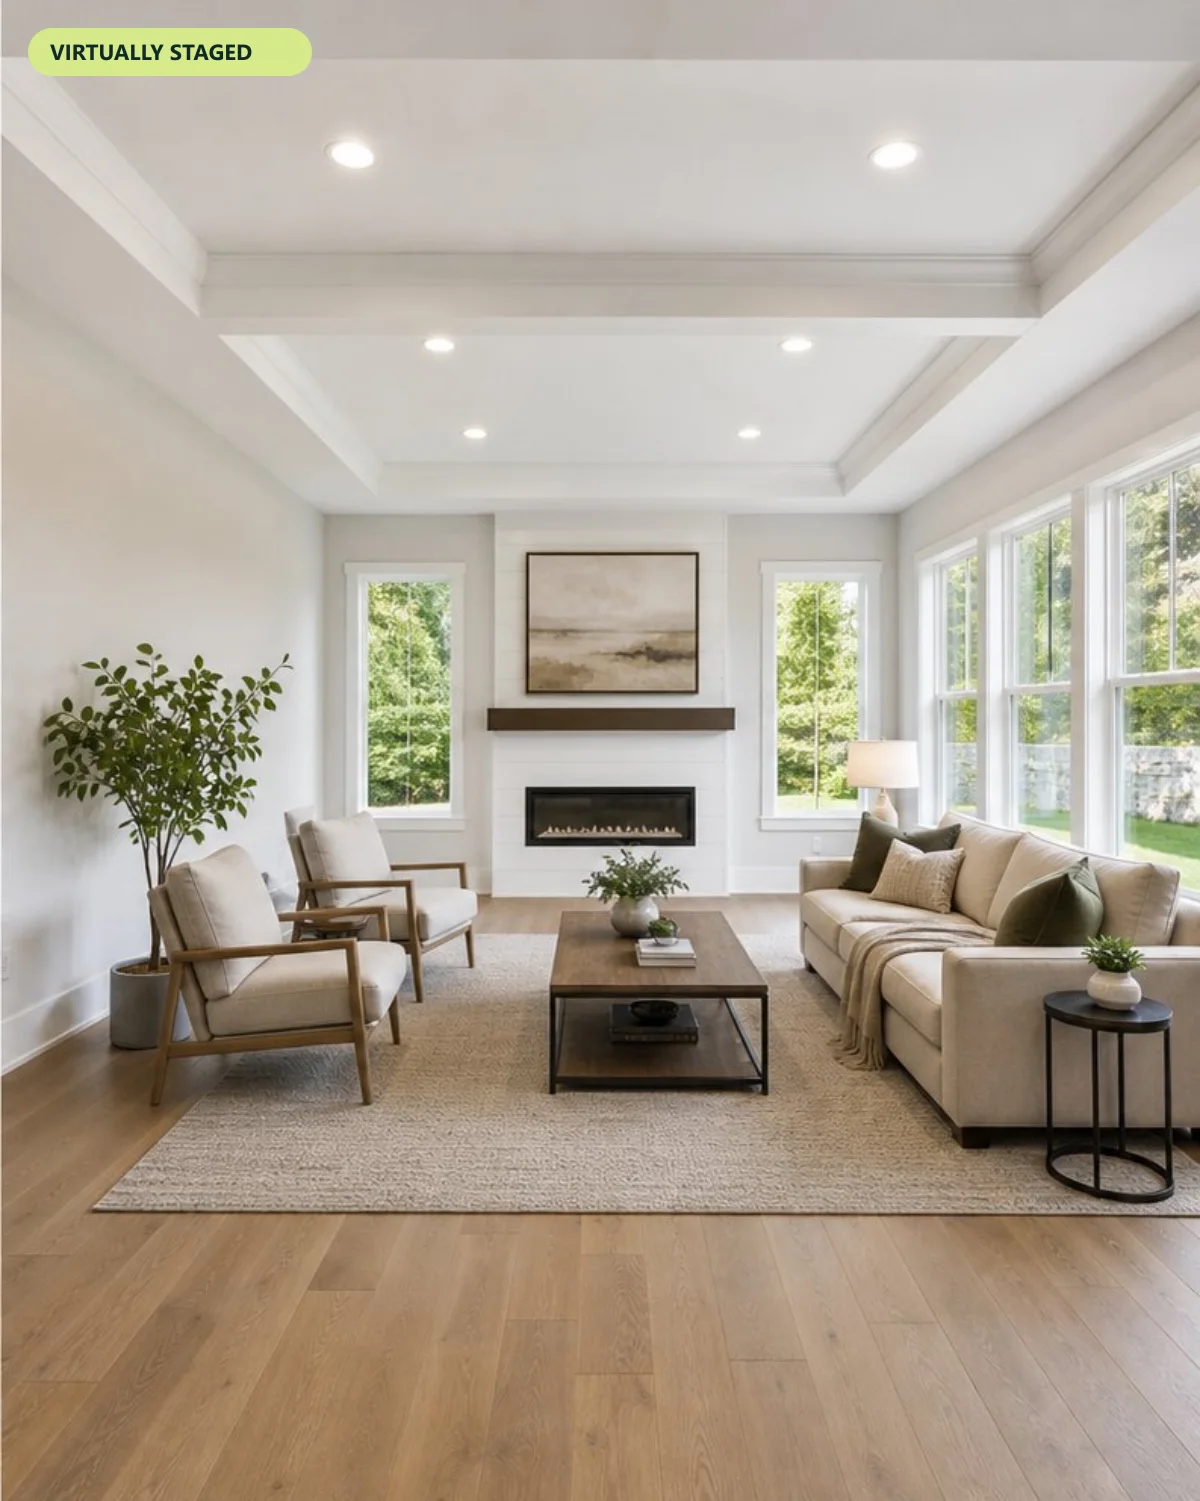
Zoom in and check:
- Architecture: windows, doors, trim, outlets, flooring unchanged.
- Contact points: furniture legs meet the floor.
- Scale: walkways remain; nothing is oversized.
- Light: shadows fall away from the windows.
- Reflections: mirrors and glass don't show mismatched items.
- Style: right for the buyer and price.
Step 5: Disclose and publish
Add a disclosure such as "Virtually staged. Furniture and decor are digitally added and not included in the sale.", keep the original photo, and follow your MLS's media policy. Details in virtual staging disclosure rules.
Step 6: Get more value from the staged photo
- Use it as the hero image on portals and social.
- Turn it into an 8-second video clip — staged rooms make stronger clips because the camera has furniture to move past. See how to make a real estate video from photos.
- Post a clearly labeled before and after — one of the most engaging formats for agents. More in virtual staging before and after.
Staging by room type: what to include
| Room | Essentials | Avoid |
|---|---|---|
| Living room | Sofa, 1–2 chairs, coffee table, rug, lamp, art | Too many pieces blocking walkways |
| Primary bedroom | Bed with nightstands, lamps, rug, one chair or bench | Oversized beds in smaller rooms |
| Secondary bedroom | Bed or a home office setup | Children's themes — keep it neutral |
| Dining | Table sized to the space, chairs, pendant or centerpiece | Tables that block circulation |
| Home office / flex | Desk, chair, shelving, plant | Clutter on the desk |
| Outdoor patio | Seating set, planters, outdoor rug | Furniture that hides the view |
Troubleshooting common results
- Furniture looks too big: regenerate with a smaller room type or add "compact furniture" to the instructions.
- Furniture floats: check contact points; request a revision.
- Style feels off for the market: try a more neutral style — Modern or Traditional usually suits the widest audience.
- Window view changed: reject the result; views must match reality.
- Dark result: enhance the original photo first, then stage.
Frequently asked questions
Can I virtually stage a room myself for free? Yes, with a free photo editor and furniture assets, but expect hours per room and a learning curve for realism.
What's the easiest way to virtually stage a room? An AI staging tool: upload, choose room type and style, review, download.
Which rooms should I stage? Main living area, primary bedroom, kitchen/dining, and any flexible room buyers can't picture.
Do I have to disclose virtual staging? In most markets, yes — and it's good practice everywhere.
Stage your first room
Upload an empty room, choose a style, and have a listing-ready result in about two minutes.
Try it on your own listing photo.
Stage, enhance, or renovate a photo in under two minutes — $5 per photo, no subscription required.