The 7-Day Listing Launch Plan: Photos, Video, Copy and Social
Updated September 27, 2026 · 4 min read
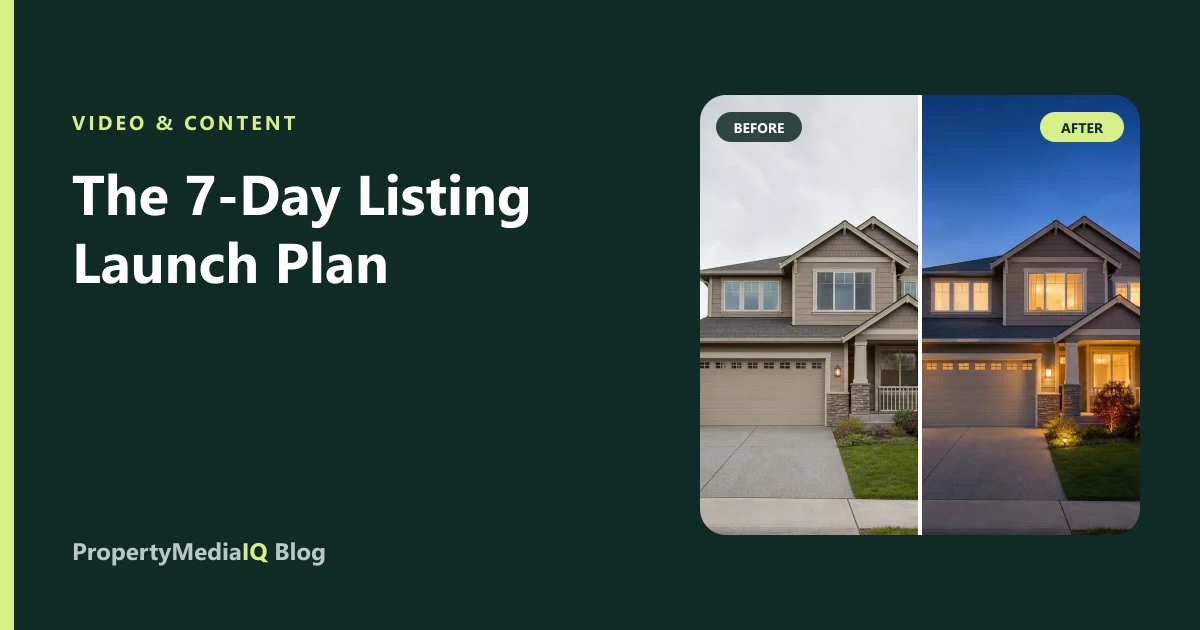
A listing gets its biggest wave of attention in the first days after it goes live: portal alerts fire, saved searches notify buyers, and your own audience sees it for the first time. Everything you publish in that window works harder than anything you publish later. Yet many listings launch with half their marketing still "coming soon".
This plan fixes that. It organizes the week before and after go-live so photos, video, copy, social posts and lead handling are all ready at the moment attention peaks.
The principle: finish before you launch
The most common launch mistake is going live with the photos and adding everything else as it arrives — the video next week, the staged rooms when they're done, the social posts when there's time. By then, the peak has passed.
Aim to have every launch asset finished on Day 0, then release them over the first week.
Day −3: Photos in, gaps identified
- Receive the photo set and review it against a listing photography checklist.
- Flag empty rooms that need virtual staging.
- Flag occupied rooms that need decluttering or furniture removal.
- Flag exteriors for sky replacement or a twilight conversion.
- Pick your 4–6 strongest photos for video.
Day −2: Finish the gallery
- Run staging, enhancement and exterior edits.
- Review every result for architecture accuracy, then select finals.
- Prepare disclosure captions for every edited photo.
- Order a floor plan if the layout isn't obvious from photos.
- If you'd rather not do it yourself, a Listing Package covers staging, enhancement, description and more in one price per property.
Day −1: Video and words
Video. Generate one AI property video clip from each of your strongest photos — typically the twilight exterior, main living area, kitchen, primary suite and outdoor space. Cut the best three to five into a 20–30 second launch reel. How to do it step by step.
Listing description. Write or generate a description that gets clicks: a headline, a 180–260-word description, a short version for portals with character limits, and a list of key features. Check every fact against the listing data.
Social copy. Prepare captions for each channel — Instagram, Facebook, LinkedIn — plus a short caption and hashtags. The social media package generates all of these from your property details, including a reel script.
Lead capture. Decide where enquiries will go and how you'll qualify them. A branded buyer assessment link in your bio, auto-replies and listing page means every new lead arrives with timeline, financing and budget already answered.
Day 0: Go live
- Listing live on MLS and portals with staged and enhanced photos, disclosures, floor plan.
- Launch reel posted on Instagram, TikTok, YouTube Shorts and Facebook.
- Email to your database: best photo, three highlights, link.
- Listing page or single-property site live with the video embedded.
- Seller receives a launch summary with links — this matters for referrals.
Day 1–2: Feature content
- Post a single-feature clip (the kitchen, the view, the backyard).
- Post an "empty vs. staged" comparison, clearly labeled.
- Reply to every comment and DM within the hour; send the assessment link to new enquirers.
Day 3–4: Open-house push
- Post the open-house invitation reel twice (two days before, morning of).
- Share the floor plan walk-through reel for people who can't attend.
- Prepare printed materials with the disclosure captions intact. Use the open house preparation checklist.
Day 5–7: Qualify and follow up
By now enquiries are the priority, not content.
- Review who completed the buyer assessment and sort by readiness: ready now, warm, early.
- Call ready buyers first with a prepared brief; book showings or consultations.
- Send warm leads the information they asked about; schedule a follow-up.
- Put early leads into nurture.
- Post a "three things the photos don't tell you" reel to keep the listing visible. More ideas in 20 real estate reel ideas.
The launch checklist
| Asset | Ready by | Done |
|---|---|---|
| Final photo gallery (staged, enhanced, disclosed) | Day −2 | ☐ |
| Floor plan | Day −2 | ☐ |
| 4–6 video clips + 1 launch reel | Day −1 | ☐ |
| Listing description (long + short) | Day −1 | ☐ |
| Social captions + hashtags per channel | Day −1 | ☐ |
| Buyer assessment link in bio and auto-replies | Day −1 | ☐ |
| Email to database | Day 0 | ☐ |
| Open-house reel | Day 3 | ☐ |
| Lead review and call list | Day 5 | ☐ |
What a launch week costs with PropertyMediaIQ
For a typical listing with six rooms to stage and a five-clip launch reel:
| Item | Price |
|---|---|
| 6 staged photos | $30 |
| Sky replacement on 2 exteriors | $4 |
| Twilight conversion | $2 |
| 5 property video clips | $95 |
| Listing description | $3 |
| Social media package | $12 |
| Total | $146 |
Or choose a Listing Package for one fixed price per property. Buyer Intelligence is a separate monthly plan from $39 — see pricing.
Why the plan works
It concentrates your best marketing into the window when buyers are paying attention, and it treats enquiries as part of the launch rather than an afterthought. A finished gallery gets the click, video gets the share, good copy gets the enquiry, and qualification makes sure the right buyers get your time first.
Turn one listing photo into a video.
An 8-second cinematic property clip from a single photo for $19 — plus listing descriptions and social posts.